In this tutorial, we will show how to add products and product categories and manage different product settings.
Adding a Product
Adding a product category:
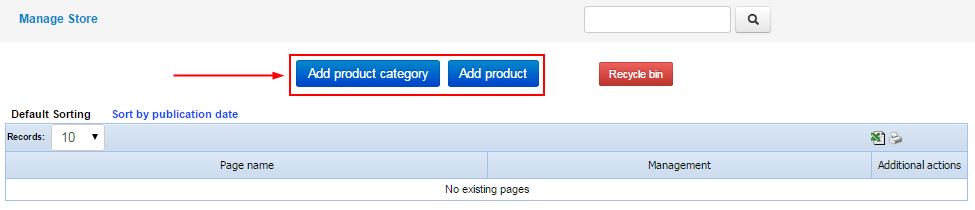
To add a product category to your e-commerce website, click on
Manage >>
Store >>
Manage products >>
Add product category.
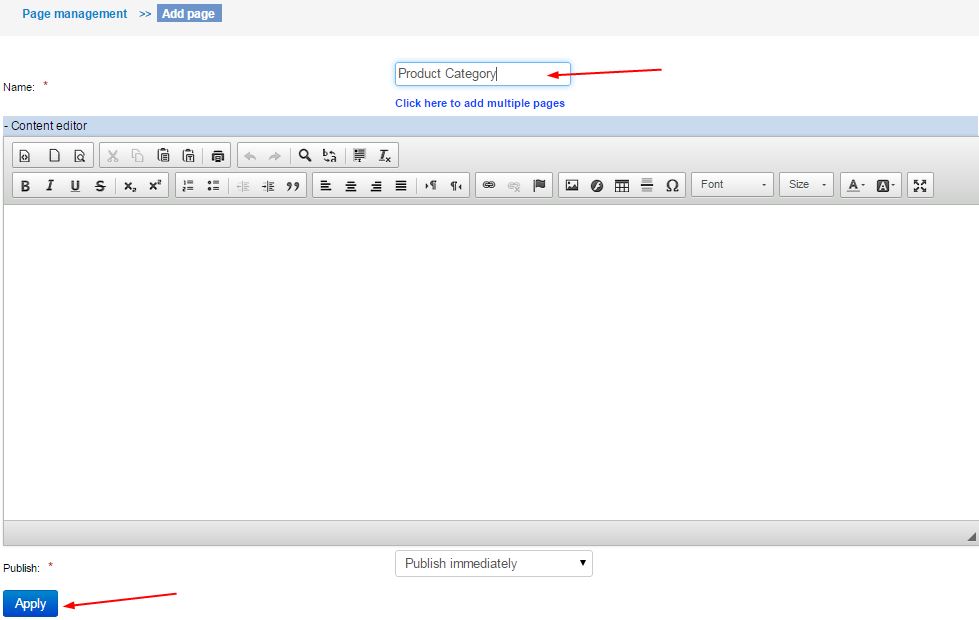
Insert category name in the
Name field (e.g. "Product Category"). Then, in the text editor below, add any textual or visual content that you would like to appear at the top of the category page, above the products. Click on
Apply to save the changes.
Adding a product:
To add a product page, go to
Manage >>
Store >>
Manage products >>
Add product.
Insert product name in the
Name field (e.g. "Product") and then add textual description of the product or images/videos that you would like to appear on the product page, next to other product details. Do not forget to click on
Apply to save the changes.
To add a product under an existing product category, first enter the category by clicking on its name and then follow instructions described in the previous paragraph.
Setting Up a Product
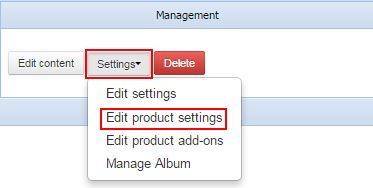
To set up product settings such as price, shipping settings and so on, you should first enter the product manager, then click on
Settings >>
Edit product settings next to the relevant product.
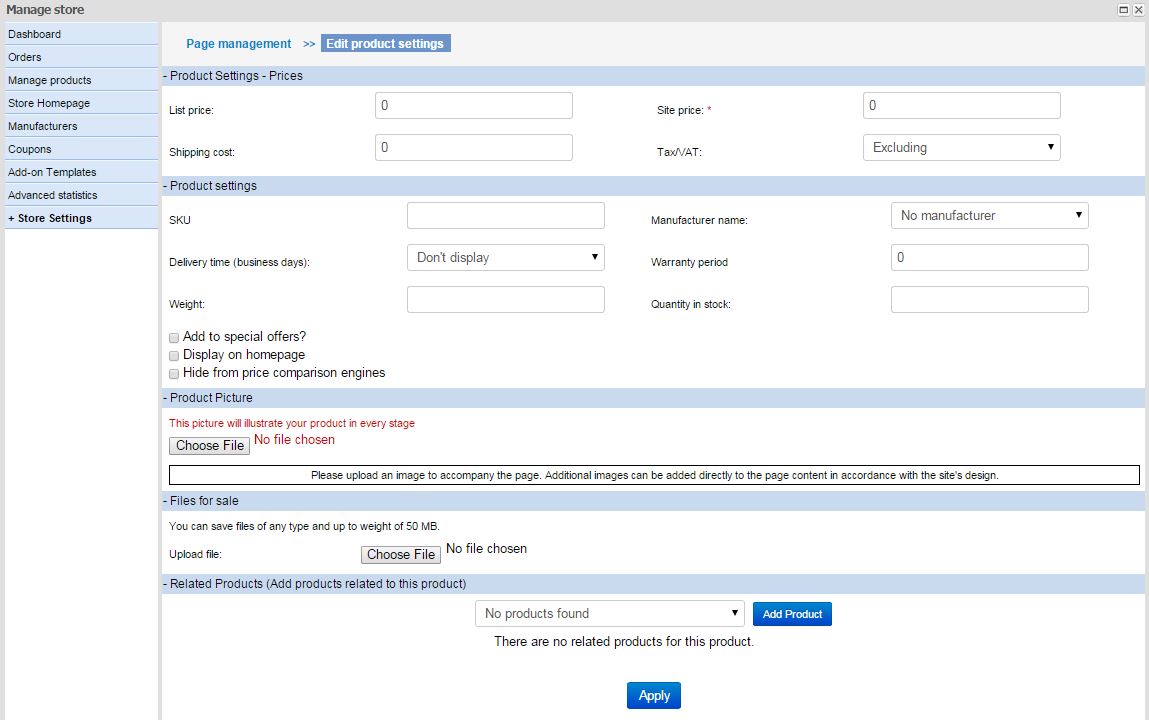
 Product Settings - Prices
List price:
Product Settings - Prices
List price: This is the suggested retail price, which must not be displayed on your website but is rather provided for comparison purposes, especially if the price you are offering is lower than the list price. In case you don't want to display it, just leave this field blank.
Site price: This is the actual price you are offering your customers to pay as they purchase the product from your website.
Shipping cost: This is the shipping cost that you would like to specify for a particular product (must be coordinated with general shipping settings in the store settings).
Tax/VAT: Here you can specify whether the offered price includes/excludes the value-added tax.
Product Settings
SKU: Stock keeping unit, a catalog ID code meant for internal use only.
Manufacturer name: A selection box containing the complete list of manufacturers, whose products are being offered by your e-commerce website.
Delivery time: It is the number of working days, whithin which you are expected to receive your order, as its name clearly suggests.
Warranty period: Guaranteed warranty period for the specific product.
Weight: For internal use only, not displayed to customers.
Quantity in stock: Relevant only if stock management is activated. As soon as the predefined stock amount of a product runs out, the buyers will no longer be able to add the product to the shopping cart until the stock is refreshed.
Add to special offers: Ticking this checkbox will automatically add this product to the list of special offers.
Display on homepage: This checkbox adds the product to the list of products displayed on the site's homepage, provided this option has been activated in the store's settings.
Hide from price comparison engines: This checkbox should be ticked, in case you do not want this product to be displayed on price comparison engines (if relevant).
Product Picture
Here you can upload an image that will represent your product. More images, galleries and videos can be added later via product settings, as well as part of product page content, along with textual description.
Files for Sale
Any file sized up to 50 MB can be sold online as a digital product and downloaded directly upon purchase.
Related Products
Here you can connect a number of related products that can optionally appear at the bottom of the product page to boost your sales.
Product Add-ons
In case you would like to set up add-ons for your product, you can go to the product manager and click on
Settings >>
Edit product add-ons. Here you can define add-ons for the selected product, while each add-on can have a range of attributes.
For instance, let us create an add-on that specifies the color of the product and define attributes such as green, red, blue and so on. To do so, first click on
Add add-on and then select
List of properties to define the attributes.
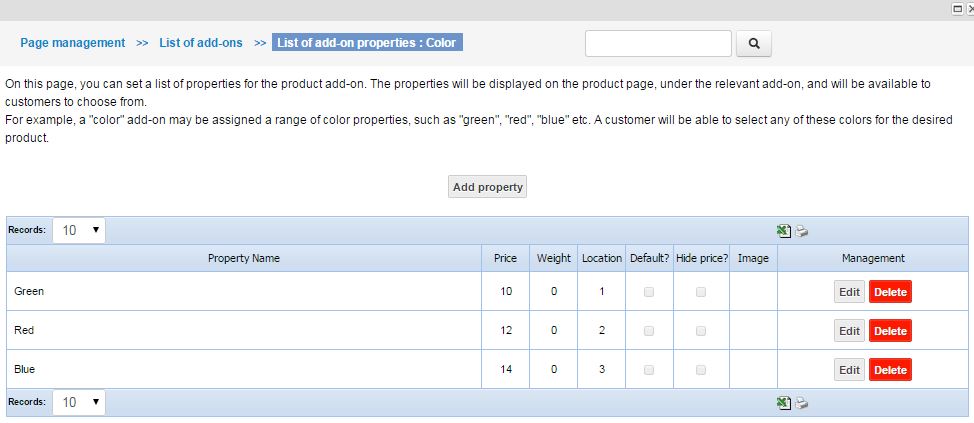
The add-ons and their properties will appear on the product page in accordance with the selected settings and the visitor will be able to choose product color or any other feature you would like to offer.
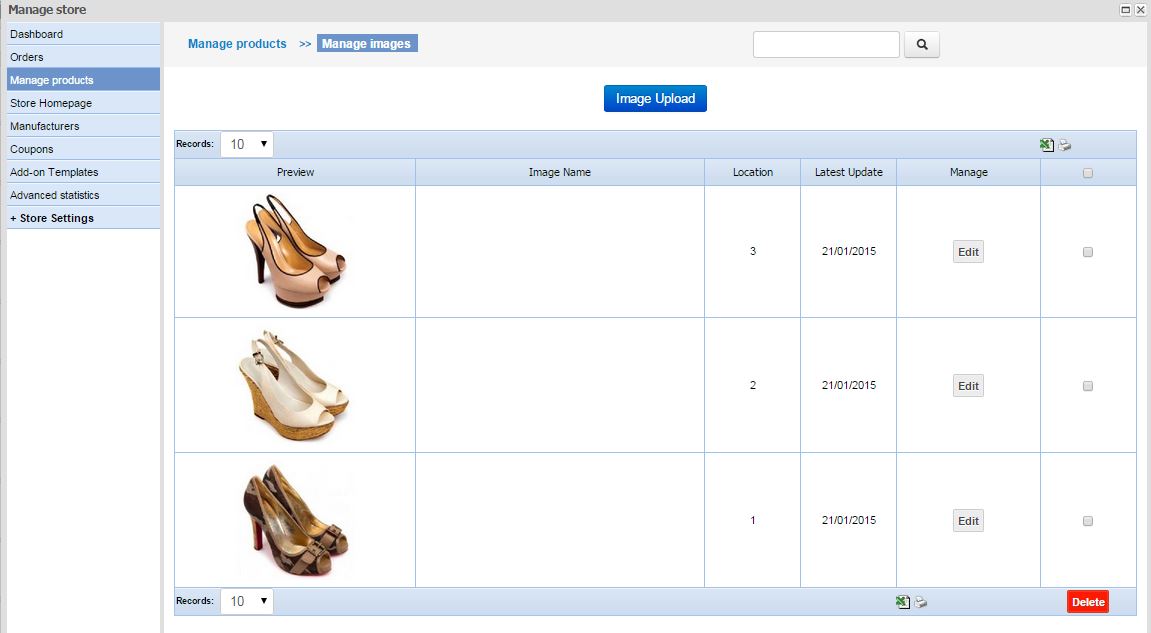
Uploading Product Image Gallery
For each product you can create an image gallery:
Settings >>
Manage album >>
Image upload >>
Browse >>
Upload.
Integration of e-commerce categories in the site's menus
Each new product category or single product will automatically appear in the Pages section of the page manager, which means they won't appear immediately on any of the site's navigation menus. You can move them to your top or side menu directly from the page manager:
Pages >>
Pages >> Right-click on the desired product or category >>
Change location to... >> Select target location.
Read more about page management options.

 English
 Español
 Deutsch
 Français
 Pусский
 العربية
 हिंदी
हिंदी Italiano
 日本の
日本の Português
 עברית
עברית